But for starters, here's what needs to be happening, provident garden-wise, in order to maximize your garden's yield.
Garden soil really ought to be turned over about now.
- If you are starting from scratch, you will either be turning over lapsed garden soil or grass.
- Lapsed garden soil
- If where you live has an existing garden patch that has not been used recently, I call this lapsed. You could call it dormant, like a volcano, but that sounds rather magma-like, so I'll stick with 'lapsed,' thanks!
- Best thing to do with lapsed soil is to spread a thin blanket of mulch, manure, grass, leaves or any other nice organic materials over your garden. You could spread any combination of the above as well.
- Next, either hand-till (with a spade (okay, a shovel)) the patch or use a good tiller. Roto-tillers can be rented easily. In my area, I call Ace Rents.
- Spread the soil evenly. Don't get too OCD about this.
- Water the soil every three to five days. This will get worms in your soil-- and they are magicians. You want them.
- Grass
- If you will be working in a space that has grass or other plant-life, you want to remove it first, of course.
- To remove grass, first use your shovel (spade!) to outline the patch. Just dig straight down about six inches all around the patch's edge.
- Next, use a spade/shovel to get down about two or three inches under the grass. Slide the shovel under there, cutting sheets of sod off. If you are careful, you can get good at this and end up with some nice pieces of sod. Use them to patch your yard in places!
- http://www.helium.com/items/637668-sod-removal-and-moving-made-easy
- Once the sod is gone, add a layer of mulch, manure or whatever, then till it in as explained above.
- Other
- You could also do some lasagna gardening!
- Choose your sunny space.
- Lay down a layer of cardboard to fill the space.
- Add a layer of leaves, grass or other organic material. Sticks and other tough materials won't really do it.
- Add a layer of newspaper.
- Add a layer of dirt.
- Add another layer of organic material.
- Add a layer of mulch.
- Plant right in there. No roto- or hand-tilling required.
- With your garden soil turned over, be sure to water every few days. Keep any neighborhood cats out-- you don't want cat crap in there.
- If you are thinking you want a border around your garden, now is the time to get one in. I have no recommendations on this, as everything I've tried has been cheap and has not worked. I will probably go with arsenic-free railroad ties the next time I try.
- Make sure you have all the seeds you need.
- It would be good to have an idea of how you will use your space. Be like me and draw up a complicated schematic! Or don't.
Okay, so that's what we want to be doing right now.
Here are my starts so far!

Here are some of the tomato plants. They are nearly 1 inch tall and have two leaves so far. This is significant. I'll talk about that more in a later post.


They are looking good, no?
Here are pumpkins:
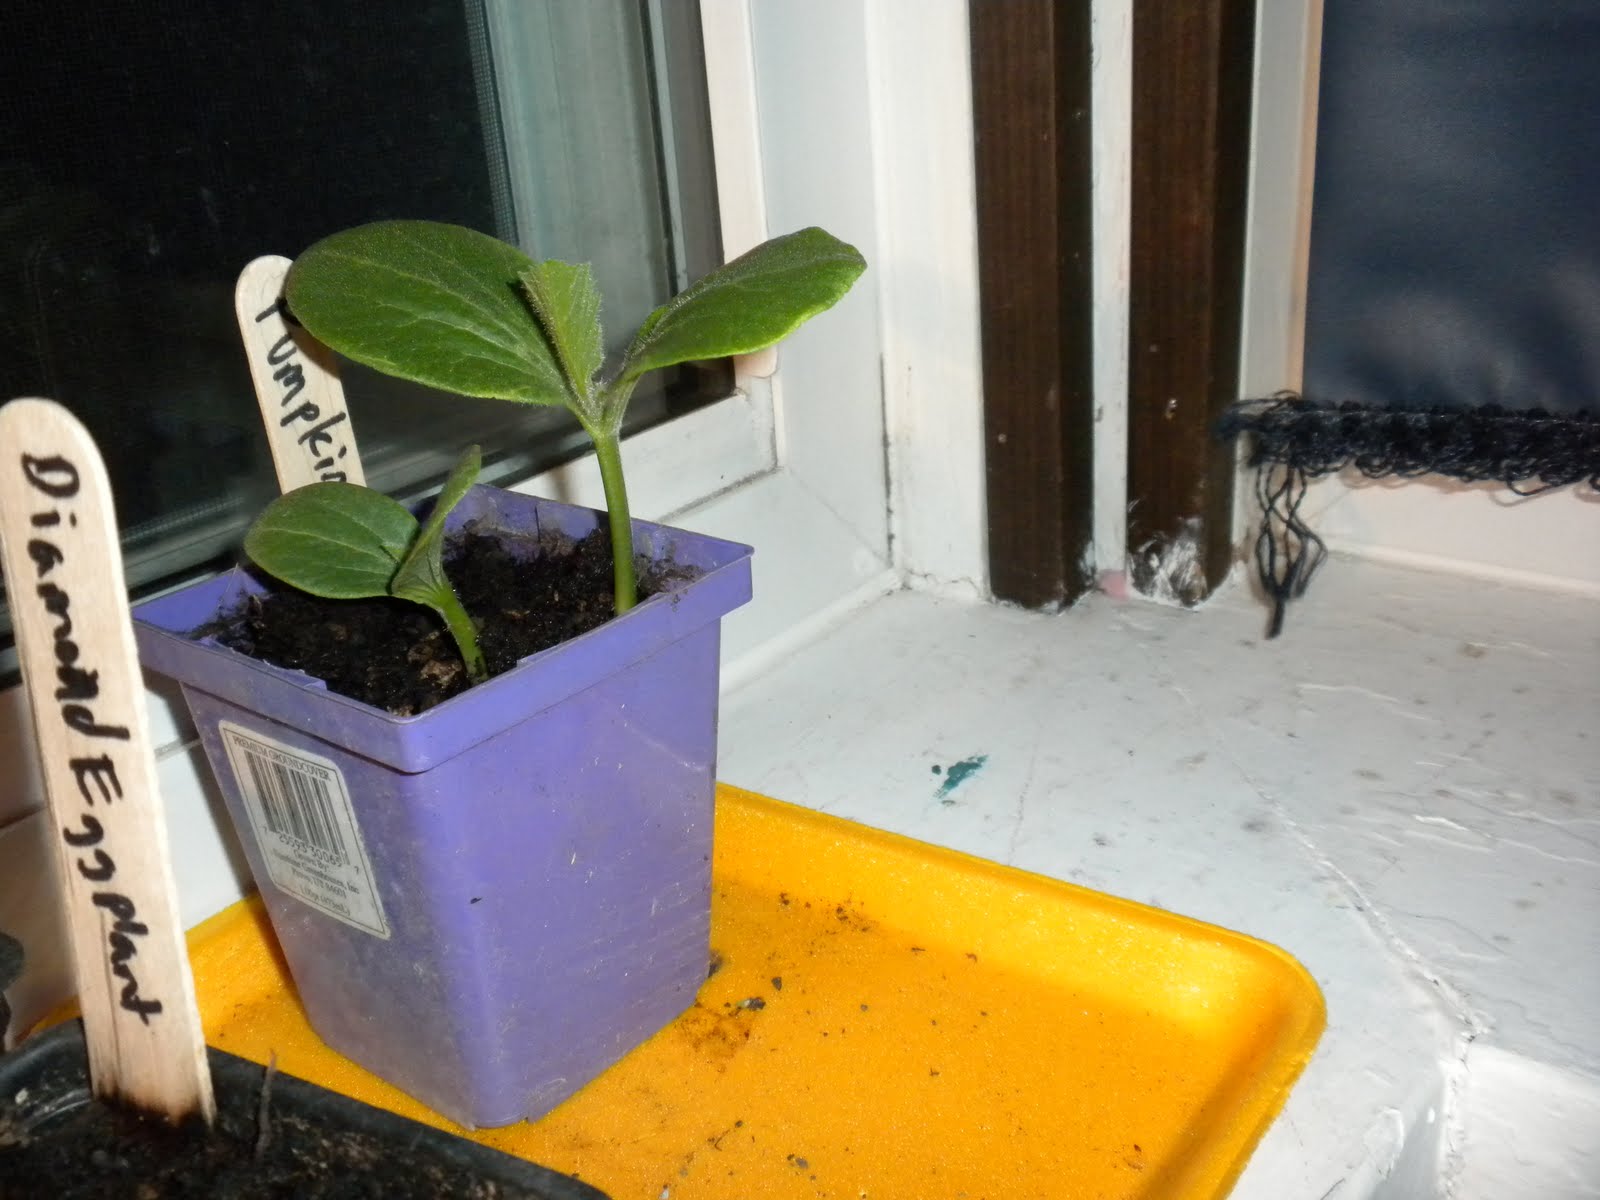
Alright, so maintenance of starts is easy. I water them every two-to-three days. The idea is to keep the dirt moist while they germinate, but then let the dirt dry out some after they've sprouted. This helps to establish roots.
As I've mentioned before, this is a great window for starts. Did you see how some of them were sort of bending in a certain direction? You will notice that they start bending toward the sunlight so that their leaves maximize their exposure. I don't want curvy plants, so I turn them every few days.
Those pumpkins are getting big already. I will be transplanting them by next Saturday so that there is one plant per 4-inch pot.
FYI, only one type of my eggplant has sprouted so far. This is fine; eggplant sometimes takes a while.
I realized that I didn't mention anything about how many seeds to plant when you are doing starts. This is up to you: how many plants you want and how much of a cushion you want to allow for dud seeds or dying plants. I plant two or three per cup to make sure I get everything I want and I usually keep everything that grows. This gives me extras. I sell them later in the season, when they are ready to go in the ground.
So that's it for today. May your garden be provident. Tomorrow I will write about my lawn and I'll post pictures. It's looking great.
Remember to share!

No comments:
Post a Comment
Feel free to comment! Please be polite.